Images are an important part of almost every modern website. When I write a blog post, I do not think of images as something that simply makes the page look attractive. I see them as a useful part of the content that can improve the reading experience, support SEO, and even help a website receive traffic from image search.
However, simply uploading an image to WordPress is not enough. A large image can make a website slow, while a poorly named image can give search engines very little information about what it contains. In my experience, a few simple image optimization practices can make a noticeable difference.
In this article, I will explain how I optimize images for SEO and what you can do to make your website faster, easier to understand, and more search friendly.
Why Image SEO Matters
Search engines cannot understand an image in exactly the same way a human can. They use information around the image to understand its subject and purpose. This includes the file name, alternative text, surrounding content, image dimensions, captions, and other technical information.
Optimized images can also improve the overall user experience. If a visitor opens a page and the images load quickly, the website feels much better. On the other hand, huge images can slow down the page and make visitors leave before reading the content.
Images can also appear in image search results. If an image is properly optimized and relevant to the page, it has a better chance of being understood and discovered by search engines.
For me, image SEO is not about trying to trick search engines. It is about giving search engines useful information while providing visitors with a better experience.
Choose the Right Image
The first step is choosing an image that actually supports your content. I always try to use images that are directly related to the topic of the article.
For example, if I am writing about website speed, an image showing a website performance dashboard makes more sense than a random computer photograph.
The image should add value instead of simply filling empty space. A useful image can explain an idea, show an example, present a process, or make complicated information easier to understand.
Relevant images also create a more professional appearance and can encourage readers to spend more time on the page.
Use Descriptive File Names
One of the easiest image SEO practices is changing the file name before uploading an image.
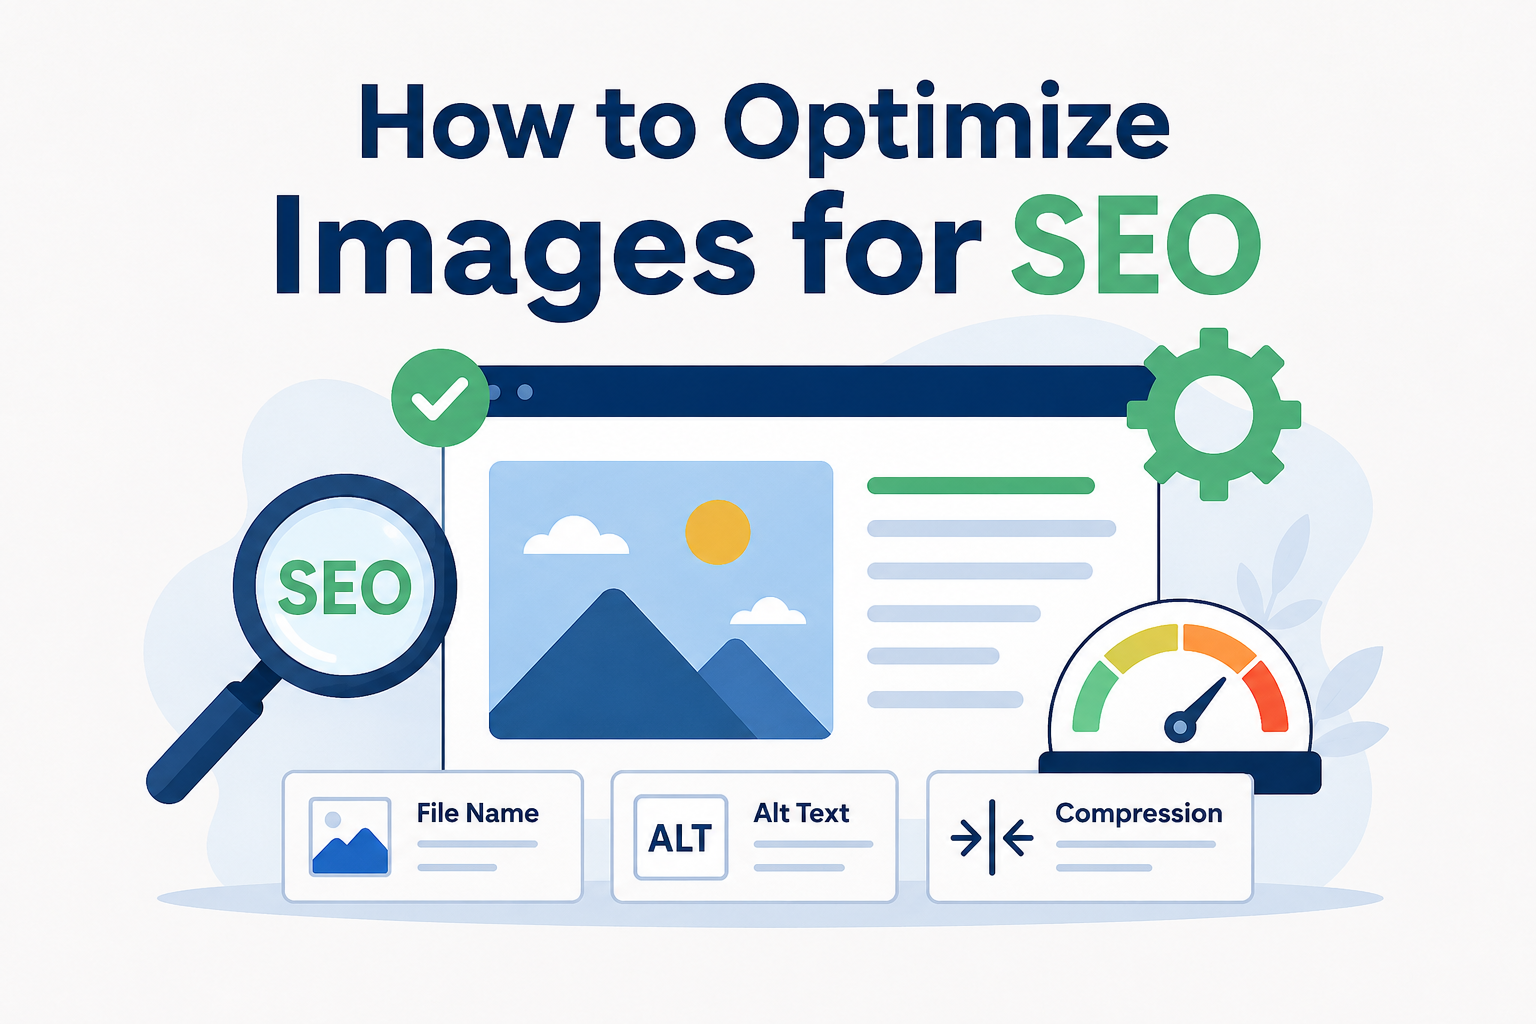
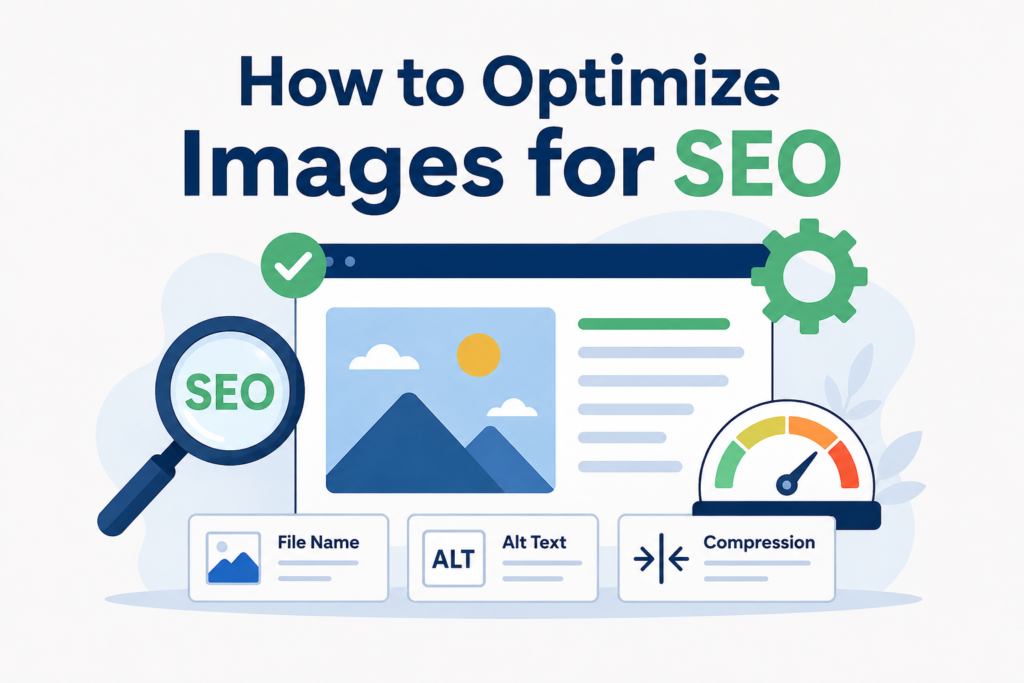
Instead of using a file name such as IMG1234.jpg, I prefer a descriptive name that explains the image. For example, an image about image SEO could be named optimize images for SEO.jpg.
A good file name gives search engines additional context about the image. It can also make your media library easier to manage.
I recommend keeping file names simple and descriptive. Use words that naturally describe the image and avoid adding unnecessary numbers or random characters.
Write Useful Alt Text
Alt text is another important part of image optimization. It helps explain an image when the image cannot be displayed and also supports accessibility for people who use screen readers.
When writing alt text, I try to describe what the image actually shows.
For example, if an image shows a person compressing a website image before uploading it, the alt text could describe that activity clearly.
I do not recommend filling alt text with keywords. If the keyword does not naturally describe the image, there is no reason to add it.
The goal should be clarity. Good alt text should help someone understand the image without seeing it.
Compress Images Before Uploading
Large image files are one of the most common reasons websites become slow. Modern cameras and smartphones can create extremely large images, and uploading those files directly to a website is usually unnecessary.
Before uploading an image, I like to reduce its file size while keeping acceptable visual quality.
Image compression removes unnecessary data from an image so the file becomes smaller. A smaller file usually takes less time to download.
There are many image compression tools available, and WordPress users can also use image optimization plugins. The important thing is to avoid sacrificing too much quality just to achieve a tiny file size.
I usually aim for a good balance between quality and performance.
Choose the Correct Image Format
The image format can also affect file size and quality. Common formats include JPEG, PNG, WebP, and newer formats such as AVIF.
JPEG can work well for photographs and detailed images. PNG is useful when transparency or certain types of graphics are needed. WebP is widely used for websites because it can provide good quality with relatively small file sizes.
AVIF can also offer efficient compression and is supported by modern browsers.
My approach is simple. I choose a format based on the type of image rather than using the same format for every situation.
Resize Images Before Uploading
Another mistake I often see is uploading an image that is much larger than the space where it will actually appear.
For example, if a blog layout displays an image at around 900 pixels wide, there may be little benefit in uploading a 5000 pixel wide image.
I prefer to resize images to a practical dimension before uploading them. This reduces unnecessary file size and can improve page performance.
WordPress can create different image sizes, but starting with a sensible original image is still a good practice.
Use Responsive Images
People visit websites from many different devices. Someone might read your article on a large desktop monitor while another visitor uses a smartphone.
For this reason, images should be responsive.
WordPress provides built in support for responsive images in many situations. This allows browsers to choose a suitable image size depending on the visitor’s device and screen.
Responsive images can reduce the amount of data sent to mobile users and can help provide a smoother experience.
Add Images Near Relevant Content
I also pay attention to where an image is placed within an article.
An image should normally appear close to the text that explains or relates to it. This gives search engines and readers stronger context.
For example, if I am discussing image compression, I would place a relevant compression illustration near that section rather than placing it several paragraphs away.
The surrounding text can help explain what the image represents.
Use Captions When They Add Value
Captions are not necessary for every image, but they can be useful when additional information helps the reader.
A caption might explain where a photograph was taken, identify a chart, or provide a short explanation of an illustration.
I do not add captions simply because I think every image needs one. If the caption improves understanding, I use it. Otherwise, I let the image work naturally with the surrounding content.
Create Original Images When Possible
Original images can make a website more valuable and memorable.
Stock images are convenient, but they are often used across many websites. When possible, I prefer creating custom graphics, screenshots, diagrams, or illustrations that directly match the topic of my article.
For a WordPress blog, an original featured image can also give the website a more consistent visual identity.
The most important thing is that the image should be useful and relevant rather than created only for search engines.
Optimize Featured Images
The featured image is usually one of the first images visitors see on a blog post. Because of this, I pay special attention to its size and quality.
A featured image should look good without being unnecessarily large. I also use a descriptive file name and relevant alt text when appropriate.
If the featured image is displayed on multiple parts of a website, such as category pages and individual posts, keeping its dimensions reasonable becomes even more important.
Use Lazy Loading Carefully
Lazy loading allows images to load when they are close to becoming visible on the visitor’s screen instead of loading every image immediately.
This can be useful on long articles containing many images.
However, I would not blindly apply lazy loading to every image. Important images that appear immediately when the page opens may need to load quickly.
WordPress and modern browsers already provide support for lazy loading, so many website owners can benefit from it without complicated technical work.
Add Images to Your Sitemap
For websites that depend heavily on visual content, making sure search engines can discover important images is also worth considering.
Image information can be included through suitable sitemap structures and website SEO tools.
This does not mean every image will automatically rank in image search. The image still needs to be useful, relevant, accessible, and supported by good page content.
I see sitemaps as another way of helping search engines discover important content rather than as a shortcut to rankings.
Avoid Keyword Stuffing
One thing I strongly recommend avoiding is keyword stuffing.
Some website owners try to place the same keyword in the file name, alt text, caption, title, and surrounding text repeatedly. This can make the content unnatural and does not provide a good experience.
I prefer writing naturally.
If the image is genuinely about SEO image optimization, using a relevant phrase in the file name or alt text can make sense. But forcing keywords into every field is unnecessary.
Good SEO should feel natural to the reader.
Check Image Quality After Compression
Compression is useful, but I always recommend checking the final image before publishing.
Sometimes aggressive compression can create blurry text, visible artifacts, or poor looking photographs.
After optimizing an image, I open it and look at it carefully. If the quality has dropped too much, I increase the quality setting or choose a different format.
A fast website is important, but a poor looking website can also hurt the user experience.
Keep Your WordPress Media Library Organized
When publishing many articles, an organized media library can save a lot of time.
I try to use meaningful file names and avoid uploading multiple copies of the same image unnecessarily.
It is also useful to keep a consistent approach to image dimensions and formats.
A clean media library makes it easier to find images later and reduces confusion when updating older articles.
My Simple Image SEO Checklist
When I upload an image to WordPress, I usually think about a few basic questions.
Is the image relevant to my article?
Is the file name descriptive?
Is the image compressed?
Is the image dimension suitable?
Does it have useful alt text when needed?
Is the format appropriate?
Does the image look good on mobile devices?
Does the image actually improve the article?
If the answer to these questions is yes, the image is usually ready to publish.
Final Thoughts
Image SEO does not have to be complicated. In my opinion, the biggest improvements usually come from simple habits such as using descriptive file names, writing helpful alt text, compressing images, choosing suitable formats, resizing large files, and making images responsive.
I also believe that image optimization should always start with the reader. The purpose of an image is to support the content and improve the experience. SEO should come naturally from creating useful and accessible pages.
If you are using WordPress, you can start with these basic practices on every new article. Over time, they can help you build a faster and more organized website while giving search engines better information about your visual content.
The key is consistency. You do not need to optimize hundreds of images perfectly in one day. Start with your new posts and gradually improve your older content. Small improvements made consistently can have a meaningful impact on the overall quality of your website.